Step 1: Download Teamviewer
Surf to get.teamviewer.com and download the TeamViewer application.

Step 2: Open the file
Open the file from your recently downloaded files. You can find it at the bottom right of the menu bar.

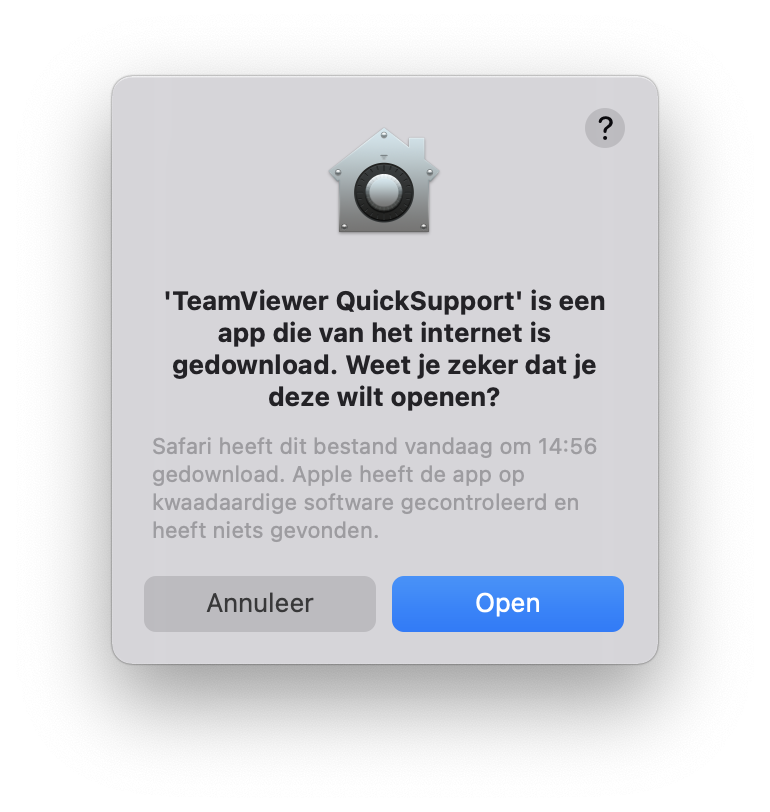
Step 3: Confirm the file's integrity
Check that the file is named ‘TeamViewer QuickSupport’ before opening. As your IT partner, we want to make sure you open a secure file.
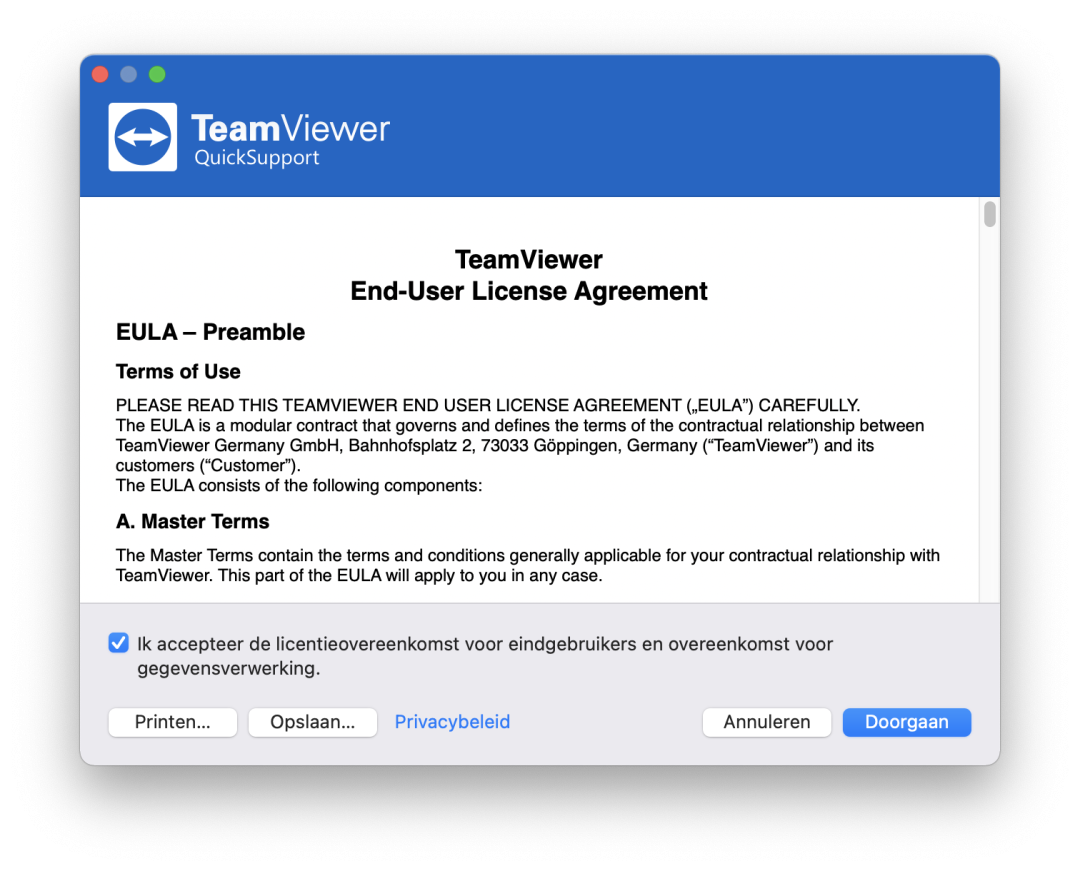
Step 4: Confirm the License Agreement
Review and read the License Agreement. Confirm if you agree.
Step 5: Check the settings
Copy the settings as shown in the image.
Step 6: Open System Preferences
The application will ask permission to record your screen. It is crucial that this is possible, so open your system preferences.

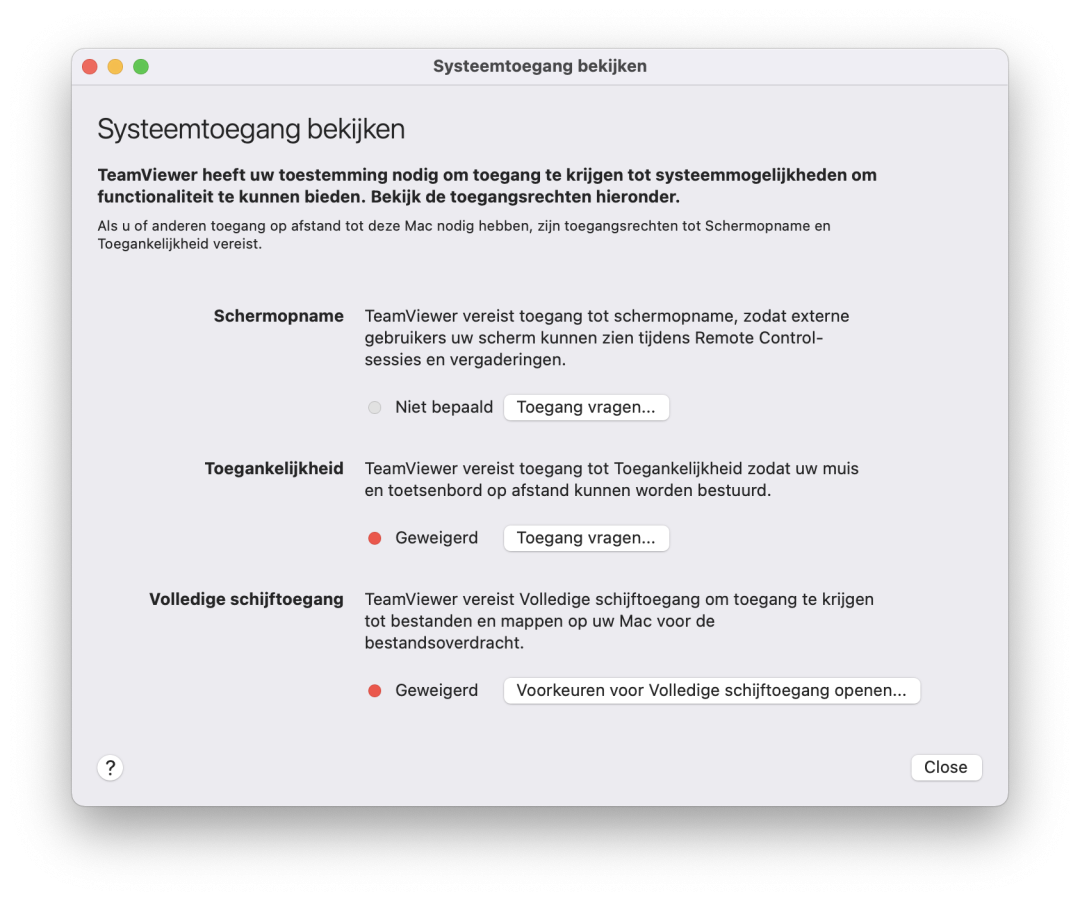
Step 7: Set the right permissions
Set the permissions as shown in the image. Click on the lock to make adjustments and give permissions to ‘Teamviewer QuickSupport’.

Step 8: Enable remote control
Your engineer who will provide support needs your ID and password to perform remote control. Only give these codes to people you trust! Don't be afraid to double-check or refuse when in doubt.
